How To Apply Mascara Without Clumping, Flaking, or Smudging
Get bigger, thicker, longer lashes with my tips and tricks on how to apply mascara.
- 27th August 2024
- By Charlotte Tilbury
12 minute read
Get bigger, thicker, longer lashes with my tips and tricks on how to apply mascara.
12 minute read
Darlings, ever since I was 13, I’ve known the transformative power of mascara – it’s like brushing on pure makeup confidence! Do you want to know how to apply mascara to create fluttery, fanned-out lashes that don’t clump, flake, or smudge? Discover how to make lashes look bigger, thicker, and longer with the wave of a mascara wand and learn my beauty tricks for perfect-looking lashes, every day!
Item 1 of 7
Item 2 of 7
Item 3 of 7
Item 4 of 7
Item 5 of 7
Item 6 of 7

₫1,046,000
Item 7 of 7

₫1,046,000

Before you apply your mascara, use a lash curler to accentuate the natural curl of your lashes. This step is particularly beneficial if you have straight lashes that don’t have a natural curl. A lash curler like my Life-Changing Lashes eyelash curler will help your lashes to hold their curl and preps them for a maximising, curl-effect mascara application. Take your lash curlers and carefully clamp them close to your lash line, then gently curl your wrist for an instant lifting, curling effect.
Tilbury Tip: You can apply mascara without using a lash curler, but taking the time to perform this step will only help to emphasise the curl of your lashes. If you choose not to curl your eyelashes, I recommend reaching for a curling mascara formula like Exagger-Eyes Volume Mascara – it makes lashes look 2x as curled without the need for a lash curler, even on naturally stubborn or straight eyelashes!
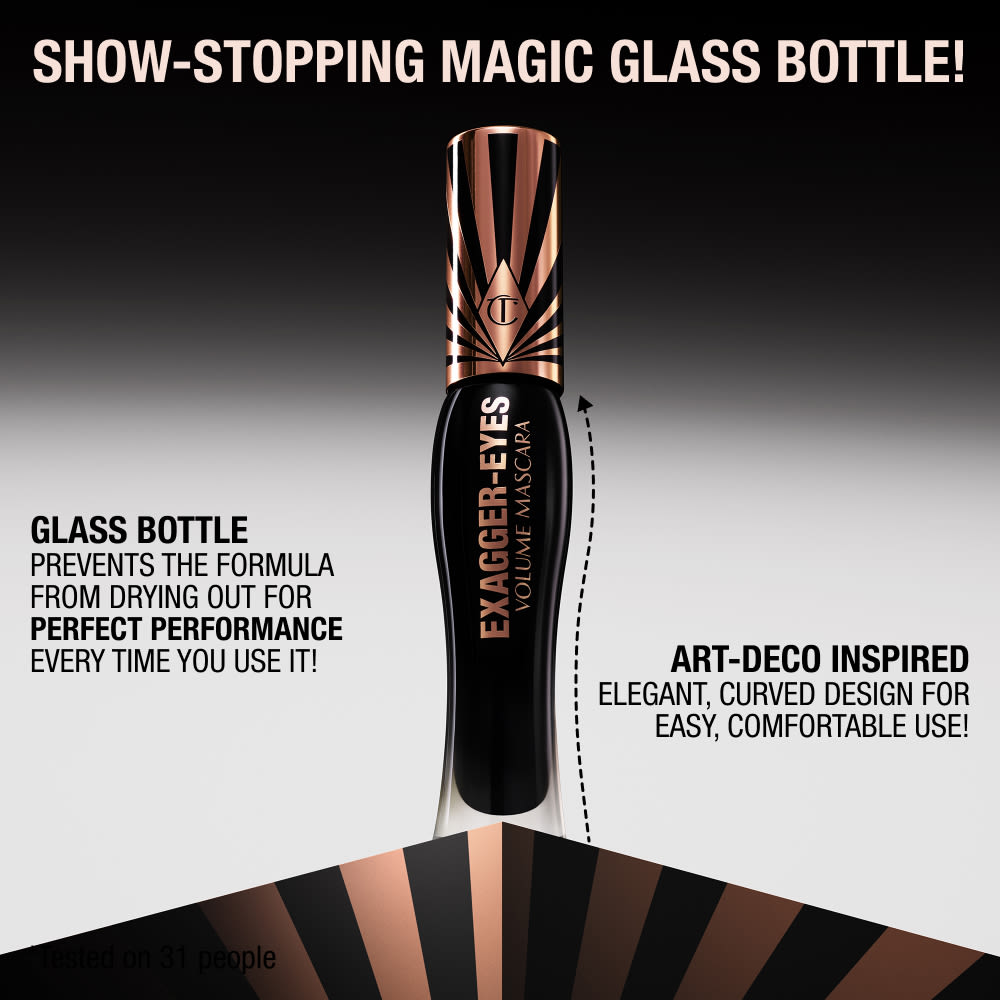
Whichever mascara you have chosen – whether that’s my volumising Exagger-Eyes Volume Mascara; my lift-effect Pillow Talk Push Up Lashes!; my natural-looking Full Fat Lashes; or my dramatising Legendary Lashes Vol 2 mascara – it’s important not to swirl or pump the wand into the tube. The temptation to pump a mascara wand into the tube to pick up more product can alter the formula of your mascara; when you wiggle a mascara wand around in the tube, you are pushing air into the formula which causes it to dry out more quickly. Instead, open your mascara by twisting the lid and removing the wand smoothly and swiftly. Each of my mascara wands are designed to pick up the perfect amount of product, so there’s no need to dip back in.
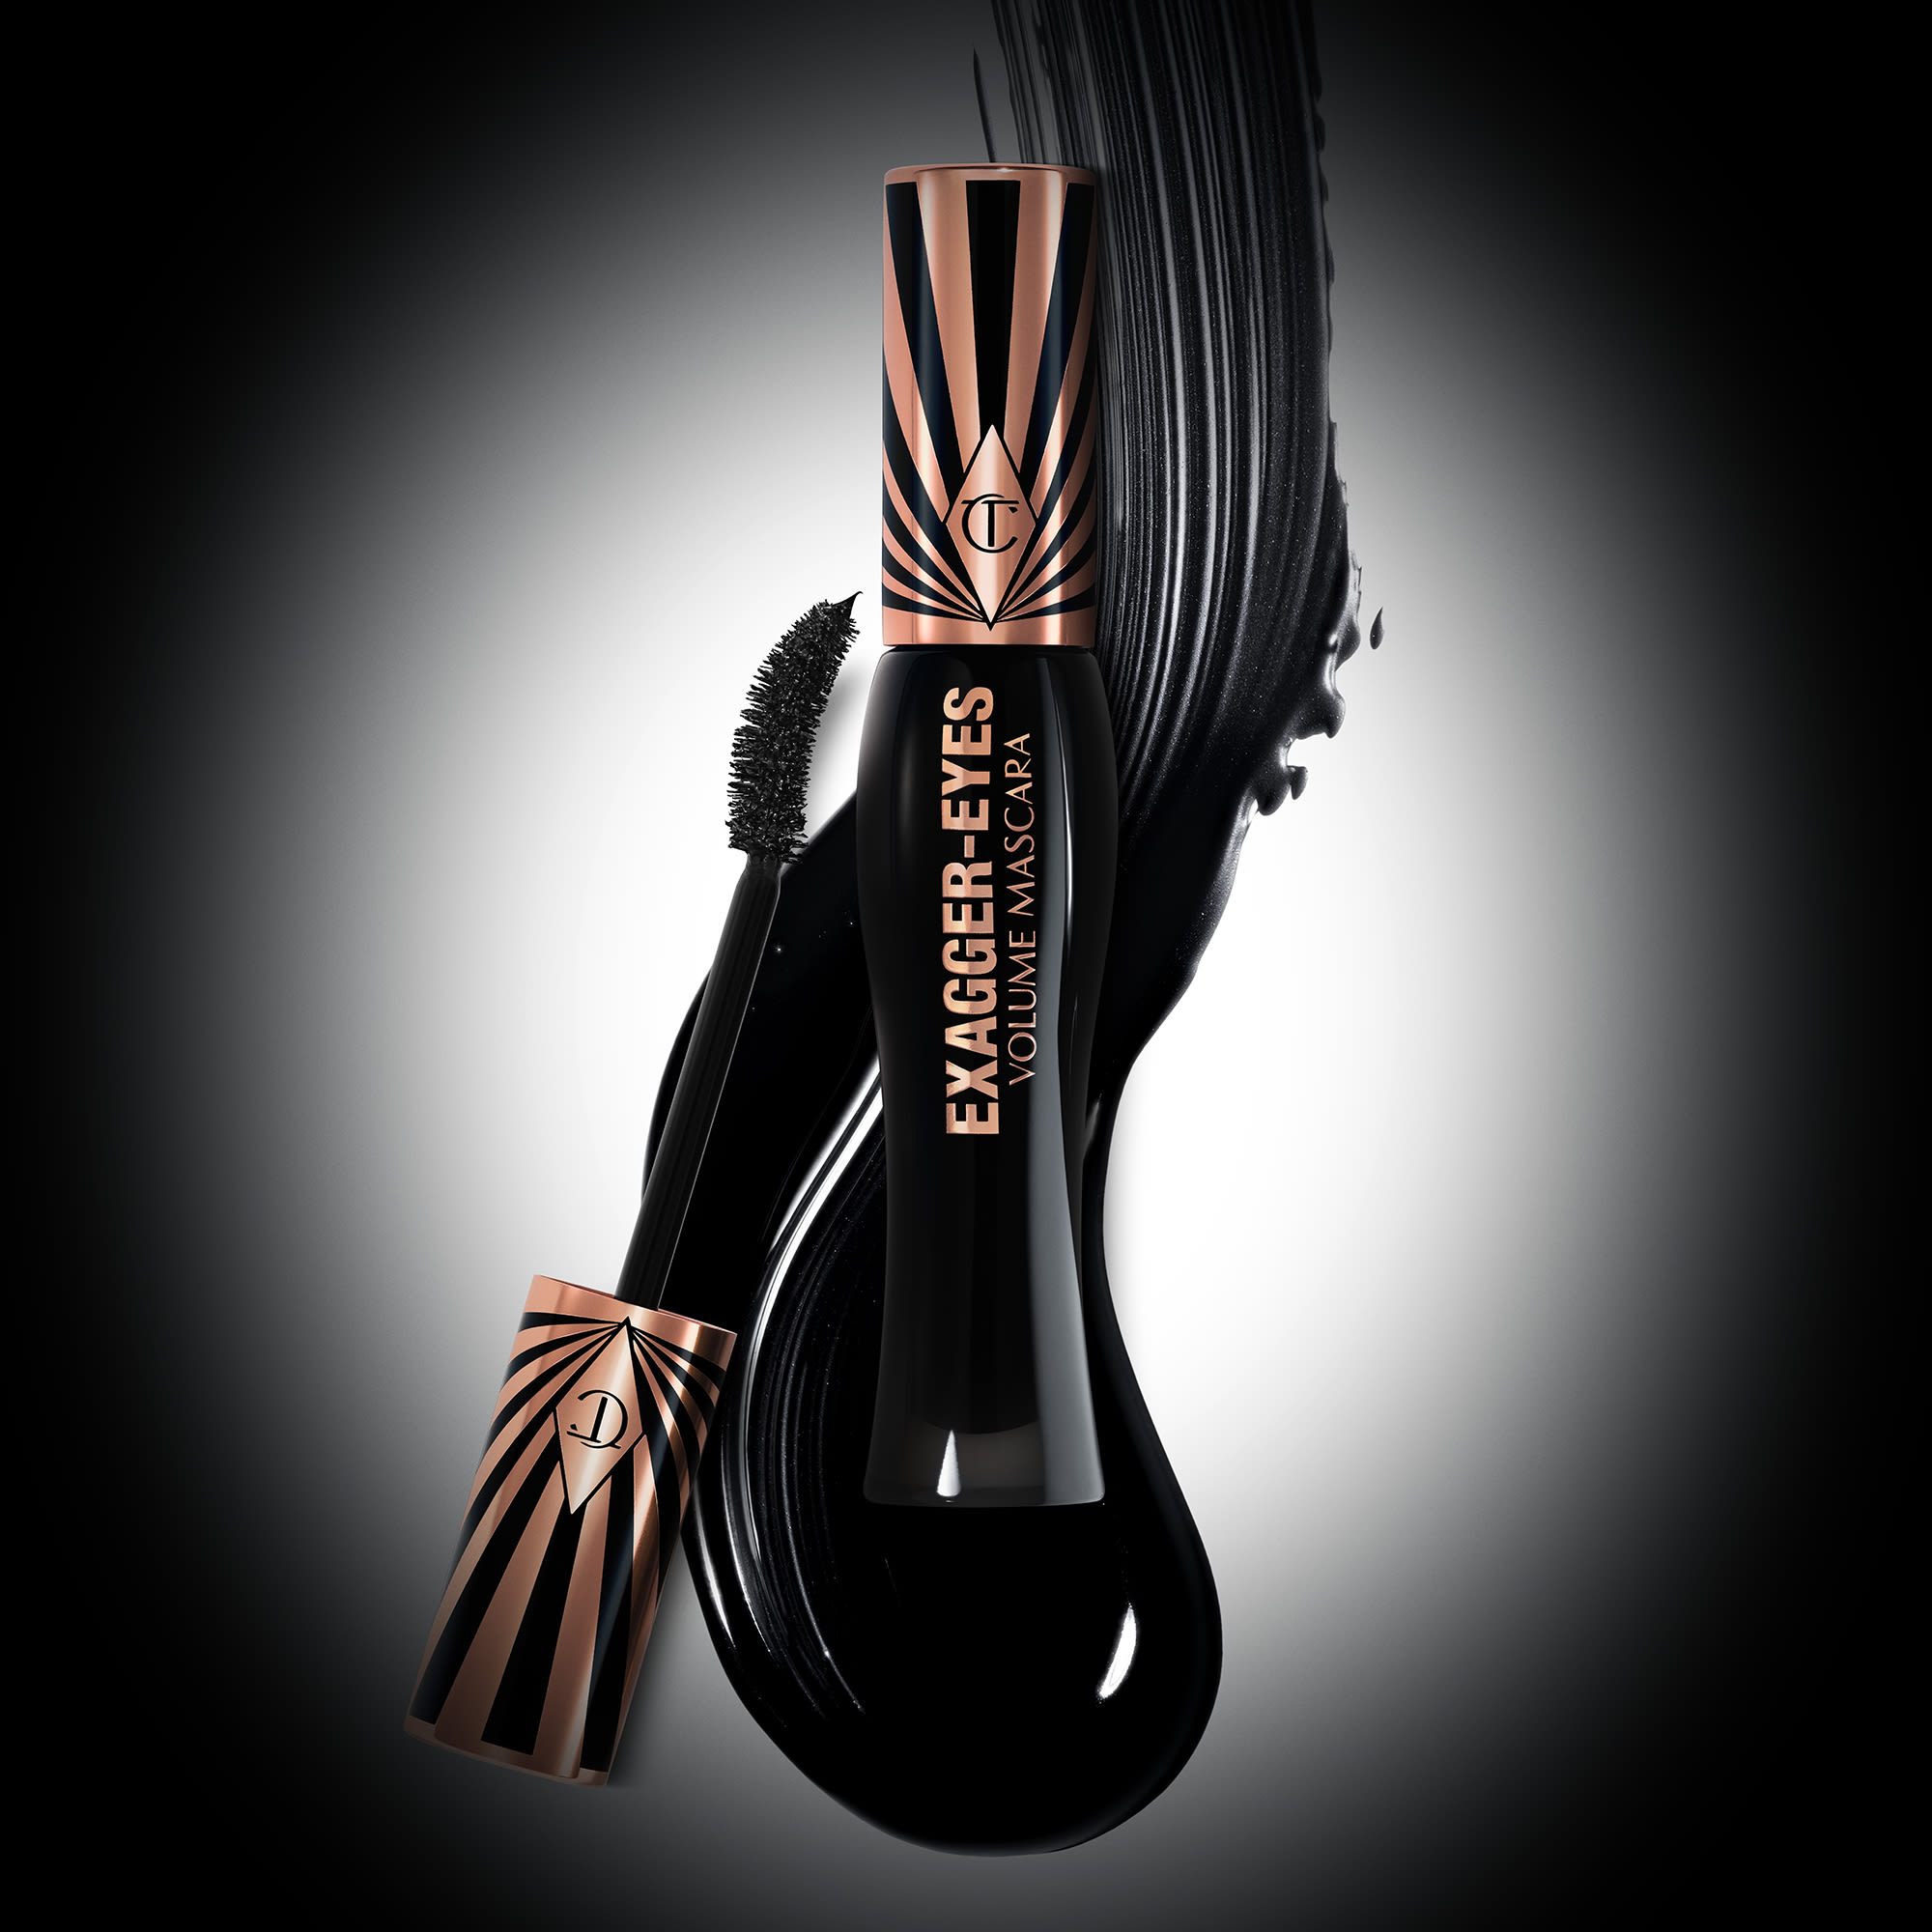
A good mascara wand will pick up the optimal amount of product, but if your mascara wand has picked up clumps or you are looking to create a more dressed-down mascara look, try scraping any excess product onto the inside of your mascara tube. By doing this, you are controlling how much product is deposited onto your lashes while also minimising the risk of experiencing mascara flaking or clumping.
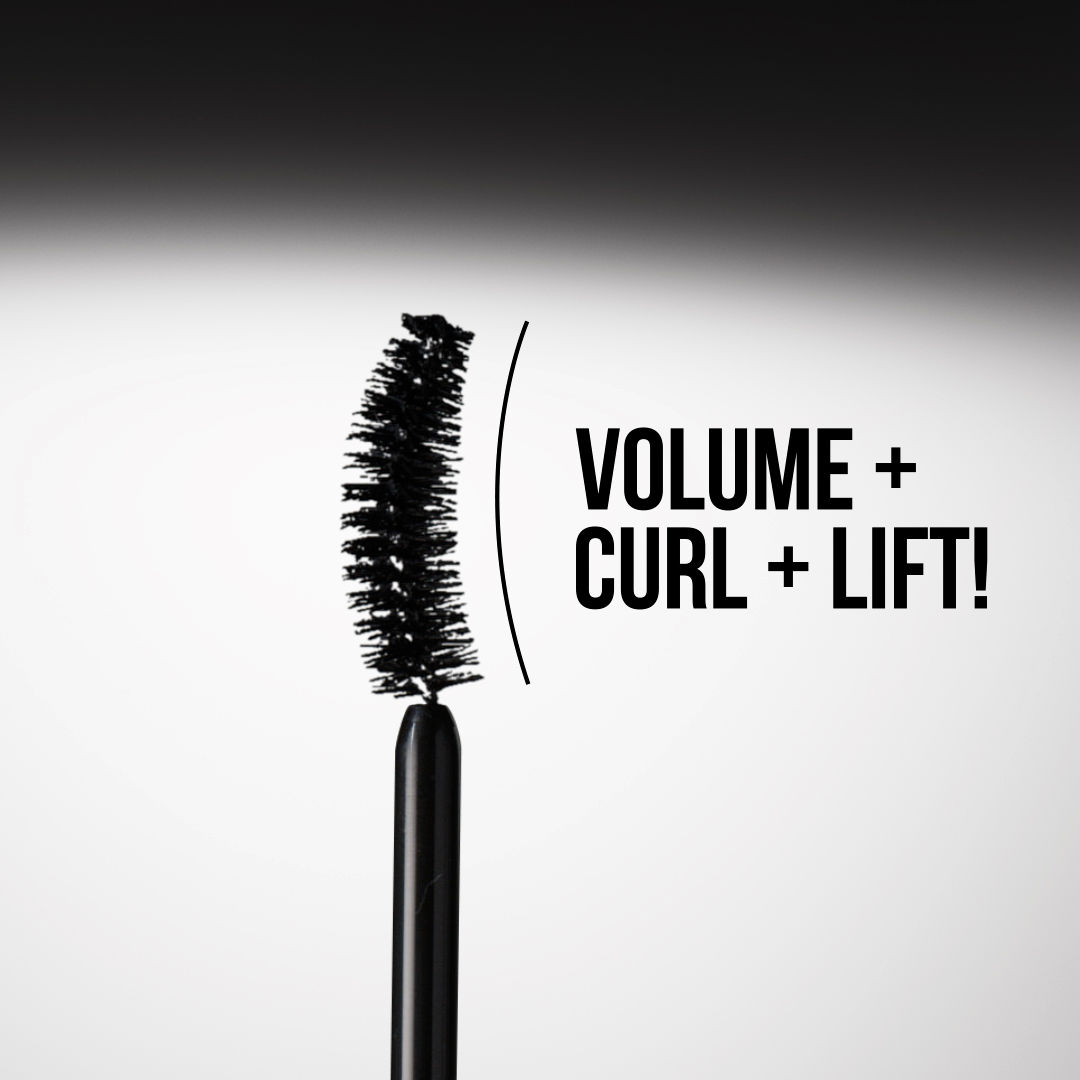
The best way to apply mascara is to turn the wand horizontally as this mirrors the natural curvature of the lash line. With your wand, brush as close to the root of the lash as possible and pull upwards towards the tip to ensure lashes are evenly coated. When lashes aren’t fully coated in mascara, they can appear spindly and unflattering, so be sure to capture even the smallest lashes from root to tip for maximum opacity.
Tilbury Tip: Look up! Darlings, it will be easier to get to the very root of your top lashes if you softly tilt your head upwards while applying mascara. This will help your eyes to appear more open and will make room to nestle your mascara wand closer to the lash line.
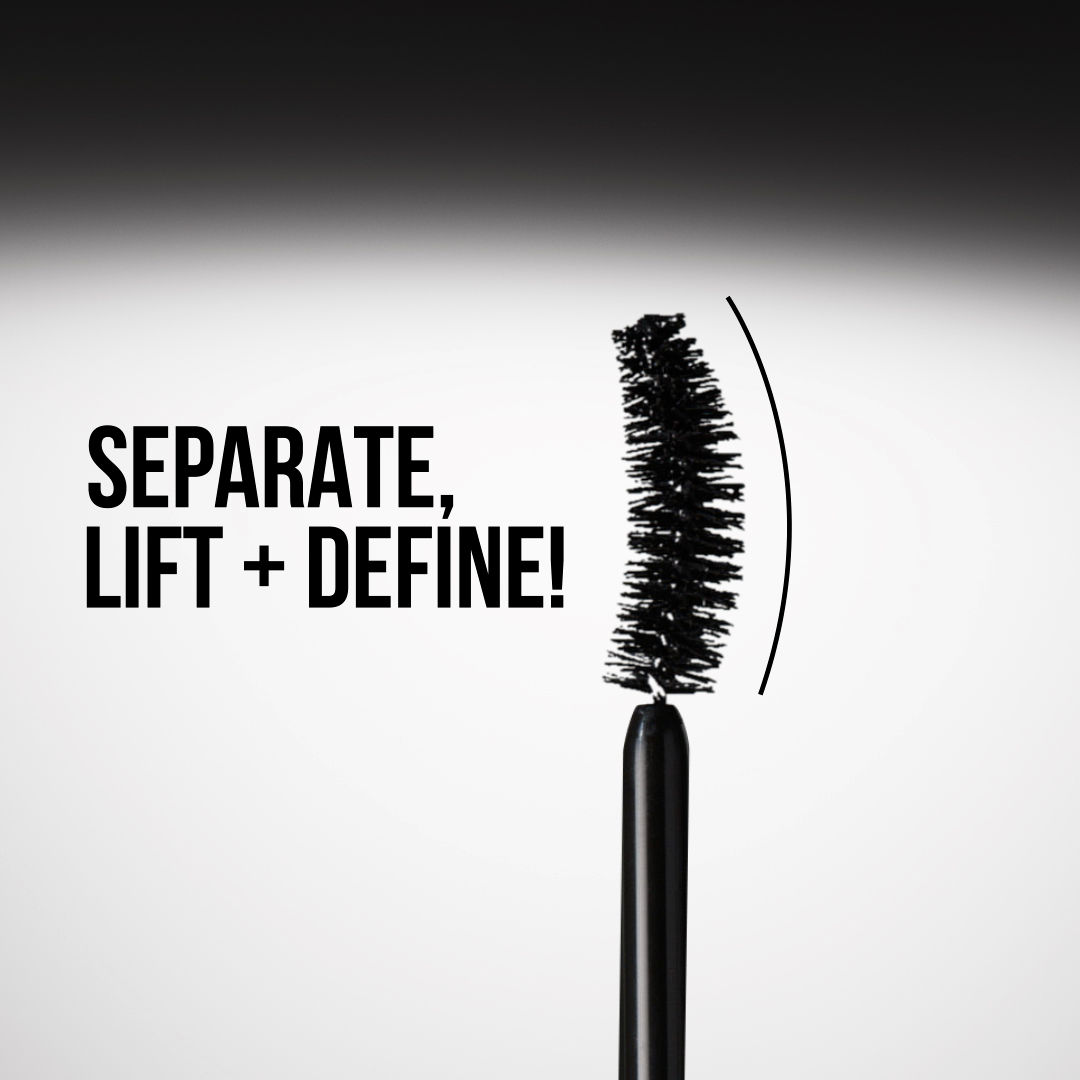
Once your lashes are coated with mascara, wiggle your mascara wand through your lashes to help them appear more separated, lifted, and defined. The bristles will groom and style your lashes to create a more dramatic, fanned-out, eye-enhancing look. It’s important to use short, controlled strokes and to keep your head still to avoid any smudging around the eyes.
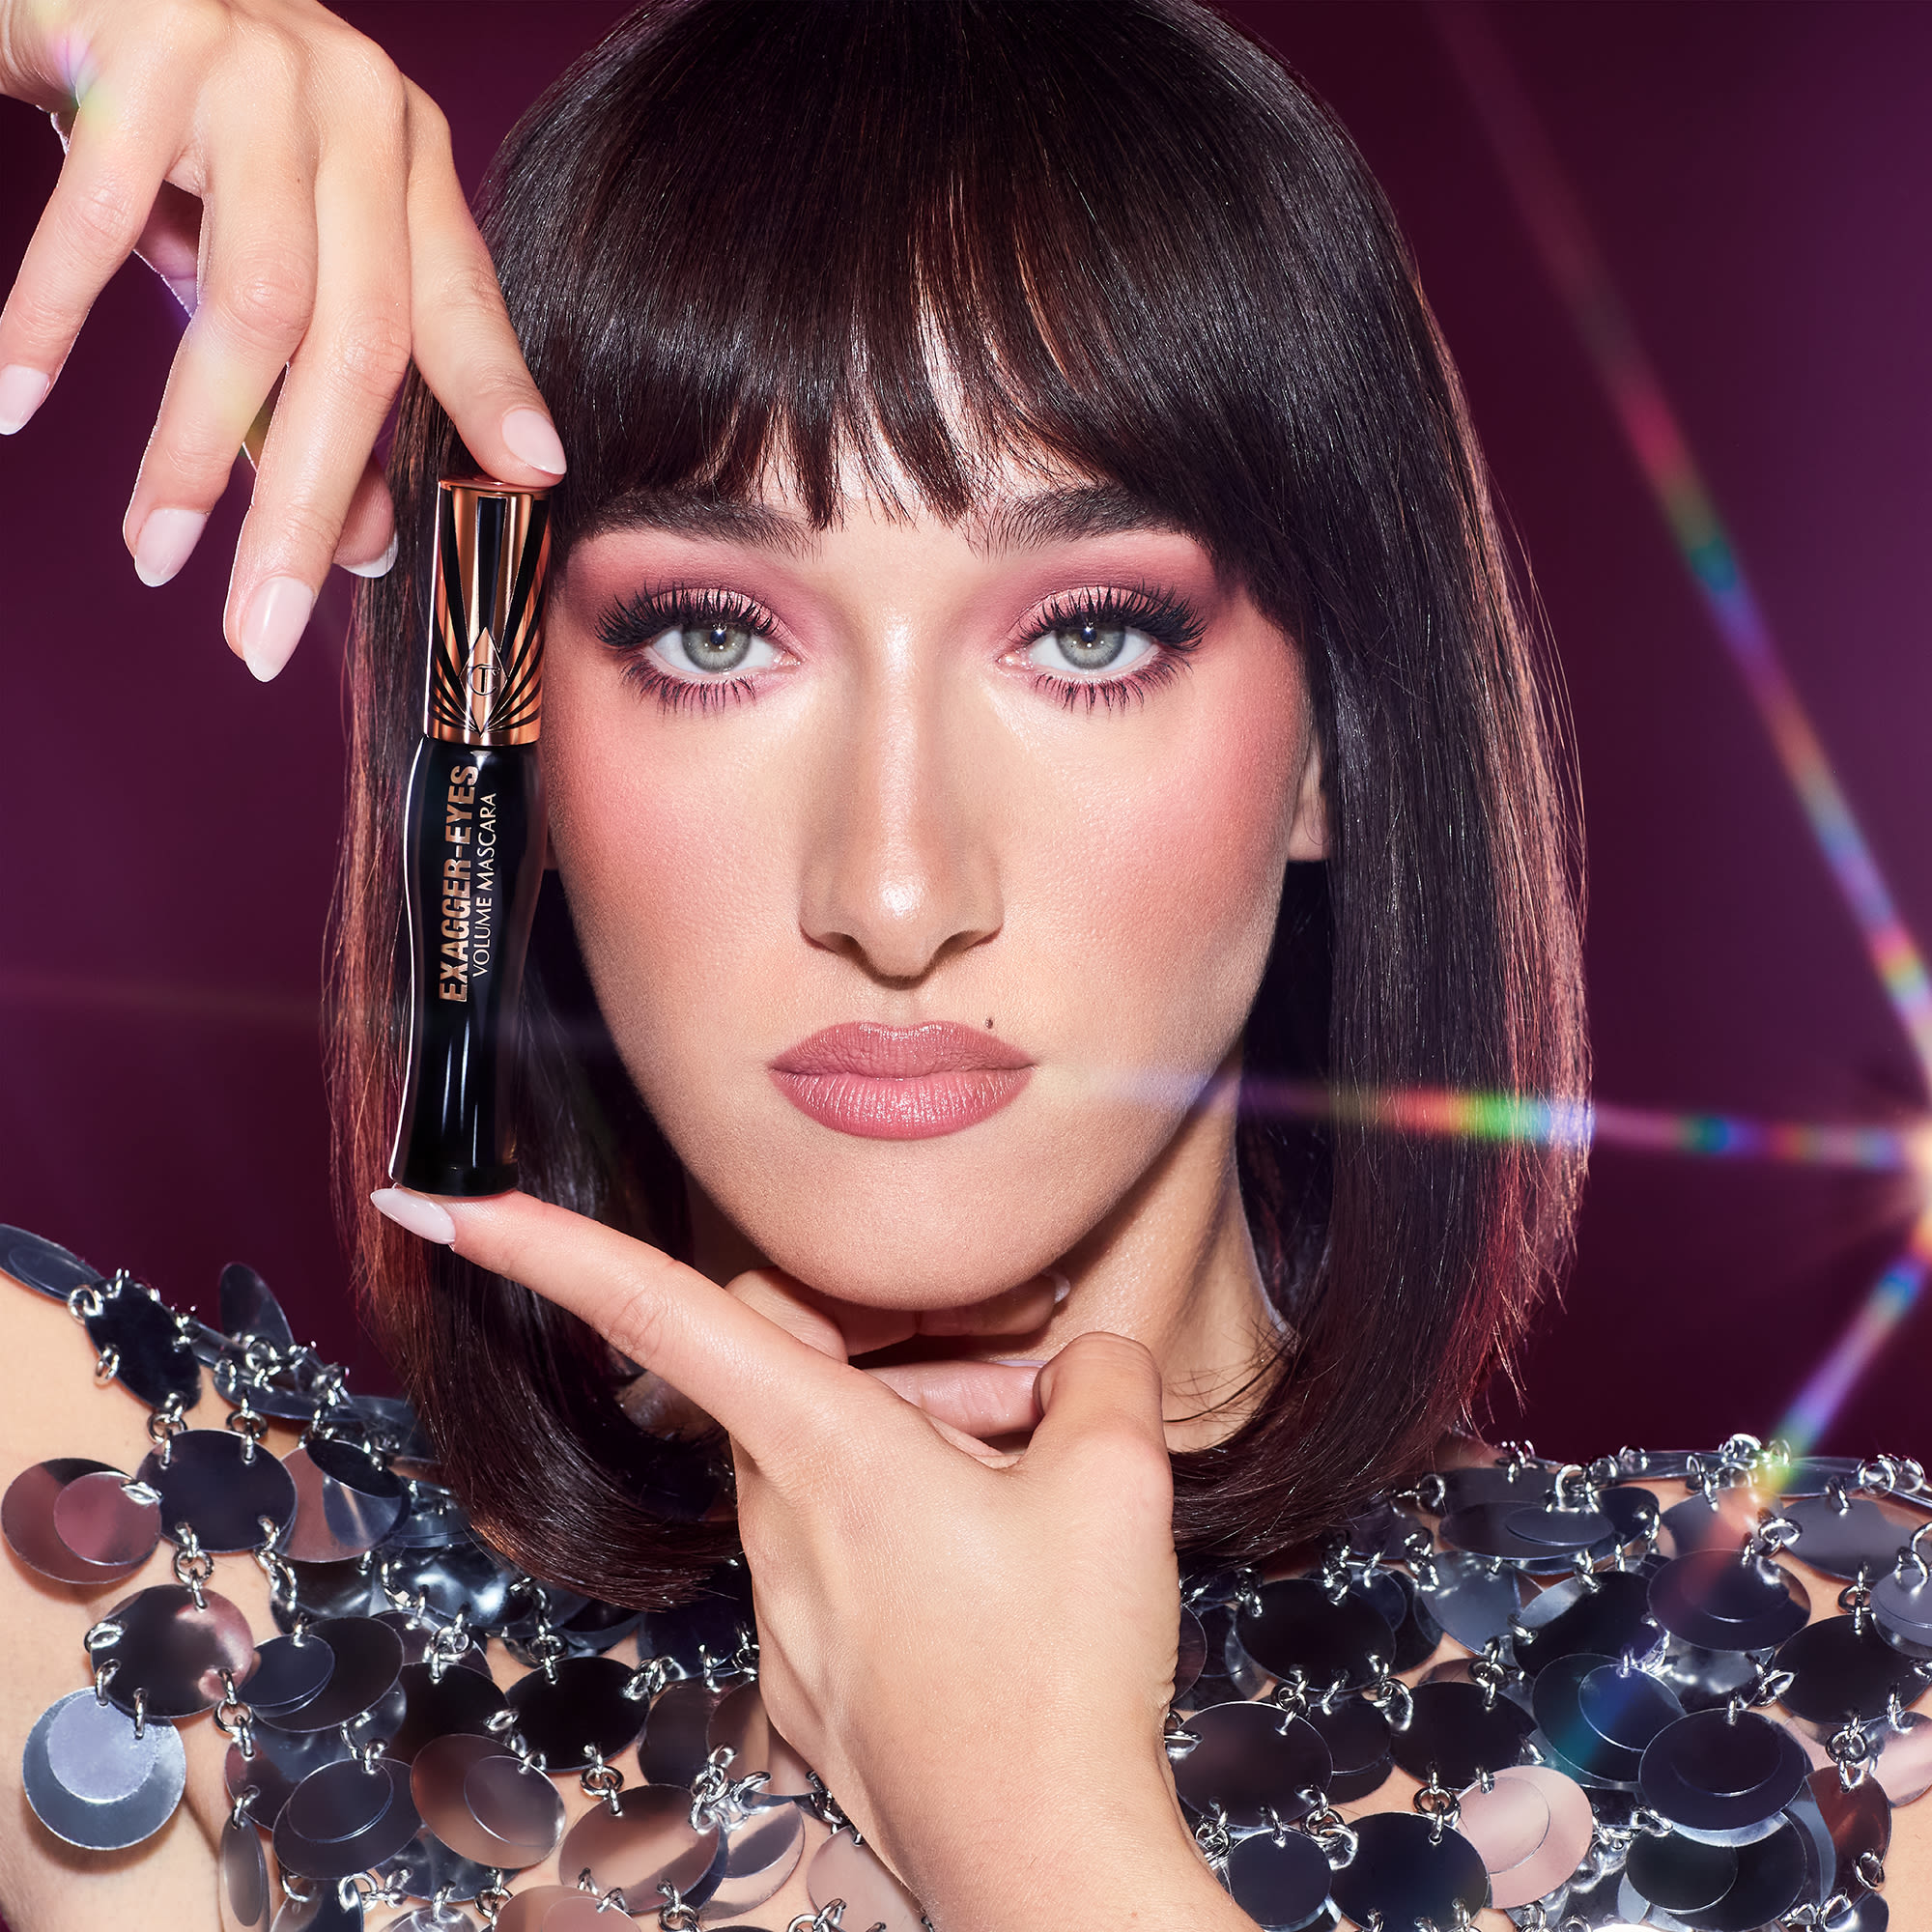
A horizontal mascara application is the fastest way to coat your lashes with mascara, but tilting your wand vertically will give you greater precision. Holding the mascara wand vertically allows you to use the tip of it to reach the tiny hairs on the inner and outer corners of your lash line. The tip of your mascara effortlessly reaches the contours of your lash line and gives you more control over your mascara, making it less likely to smudge onto your eye area when coating those hard-to-reach baby lashes. It also deposits less product which helps to avoid overwhelming smaller hairs and minimises the risk of clumping.
Tilbury Tip: You can also use vertical strokes to help separate your lash hairs to create a piecey, false lash effect.
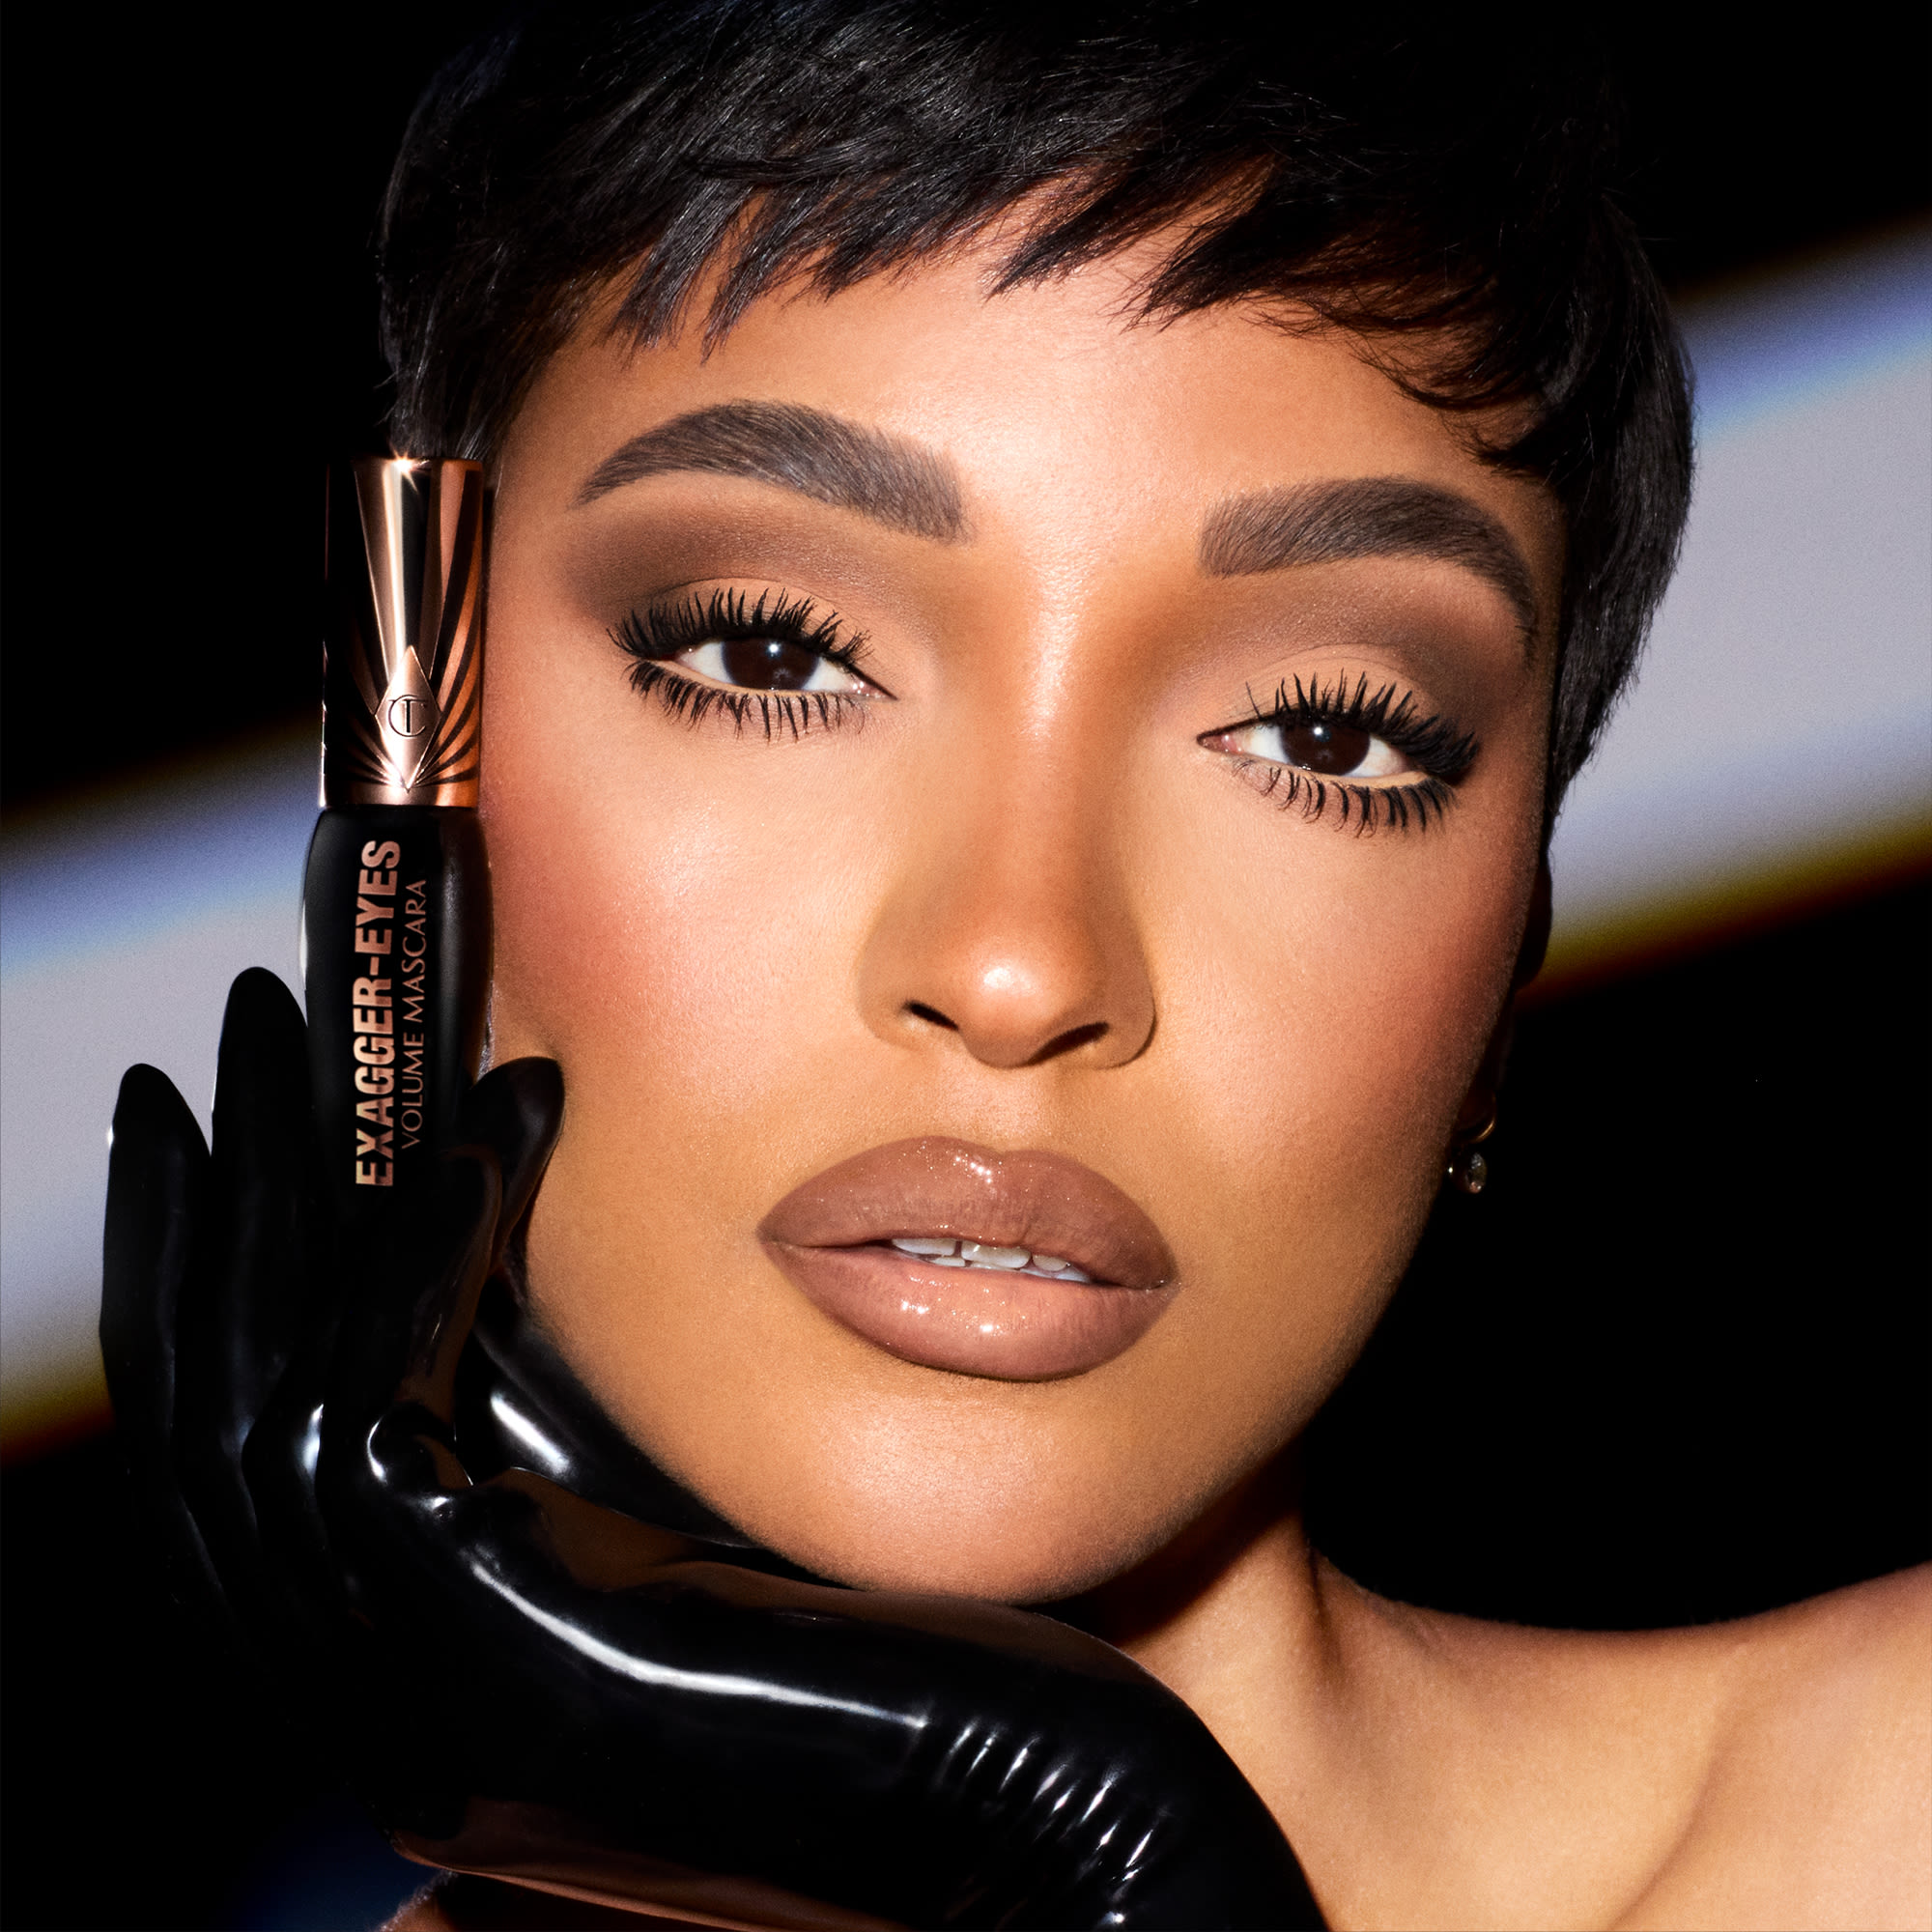
Don’t forget to apply mascara to your bottom lashes, darlings! Some people leave their lower lash line bare because they find their bottom lashes too sparse to apply mascara, but makeup can seem incomplete without dreamy, defined-looking bottom lashes! With the tip of your mascara wand, use vertical, wiggling motions along your bottom lash line to grip each lash. Once your lashes are evenly coated and separated, it will look as though you are wearing individual bottom lashes!
Tilbury Tip: Apply eyeliner along your bottom lash line to help it look thicker and more dimensional. I recommend The Classic eyeliner – the blendable, powder formula looks gorgeous on your lower lash line and will help to unify your top and bottom lashes.
Item 1 of 7
Item 2 of 7
Item 3 of 7
Item 4 of 7
Item 5 of 7
Item 6 of 7

₫1,046,000
Item 7 of 7

₫1,046,000
Everyone’s eyelashes are different, darlings, and the way that you apply mascara might differ depending on your lash type. Whether you’re looking for length, lift, volume, or maybe a little bit of each, discover some more tailored tips and tricks on how to apply mascara for maximum lash definition.
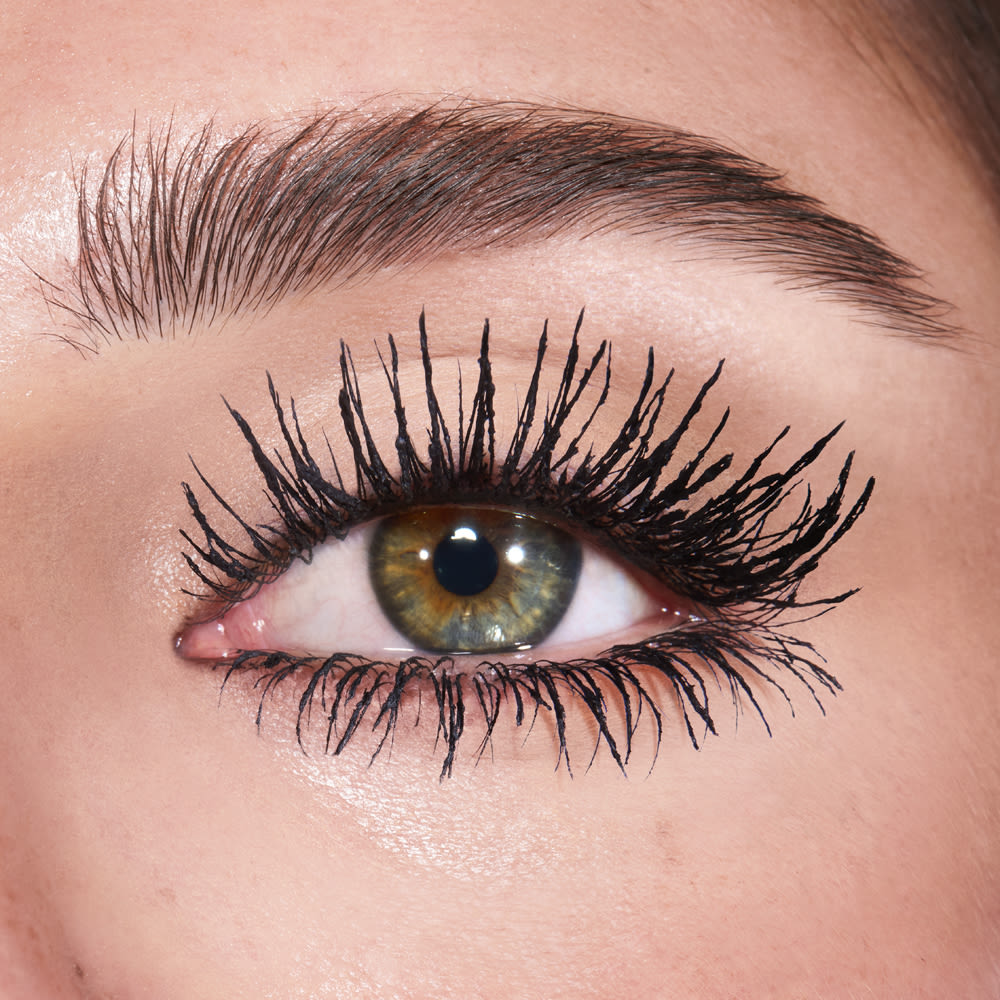
1. Guide lashes outwards with your wand
To give eyelashes the appearance of extra length, use your mascara wand to grip each individual hair and coax them outwards. Using outward rather than upward motions will help to extend the look of your lashes and create an elongated, fluttery look.
2. Angle mascara towards the outer corners of the eyes
Moving your mascara wand towards the outer corner of your eye as you apply will help to give your lashes a fanned-out appearance. When you look at your lashes straight on they can appear less noticeable, but when they flick outwards it gives them the illusion of being longer and wispier.
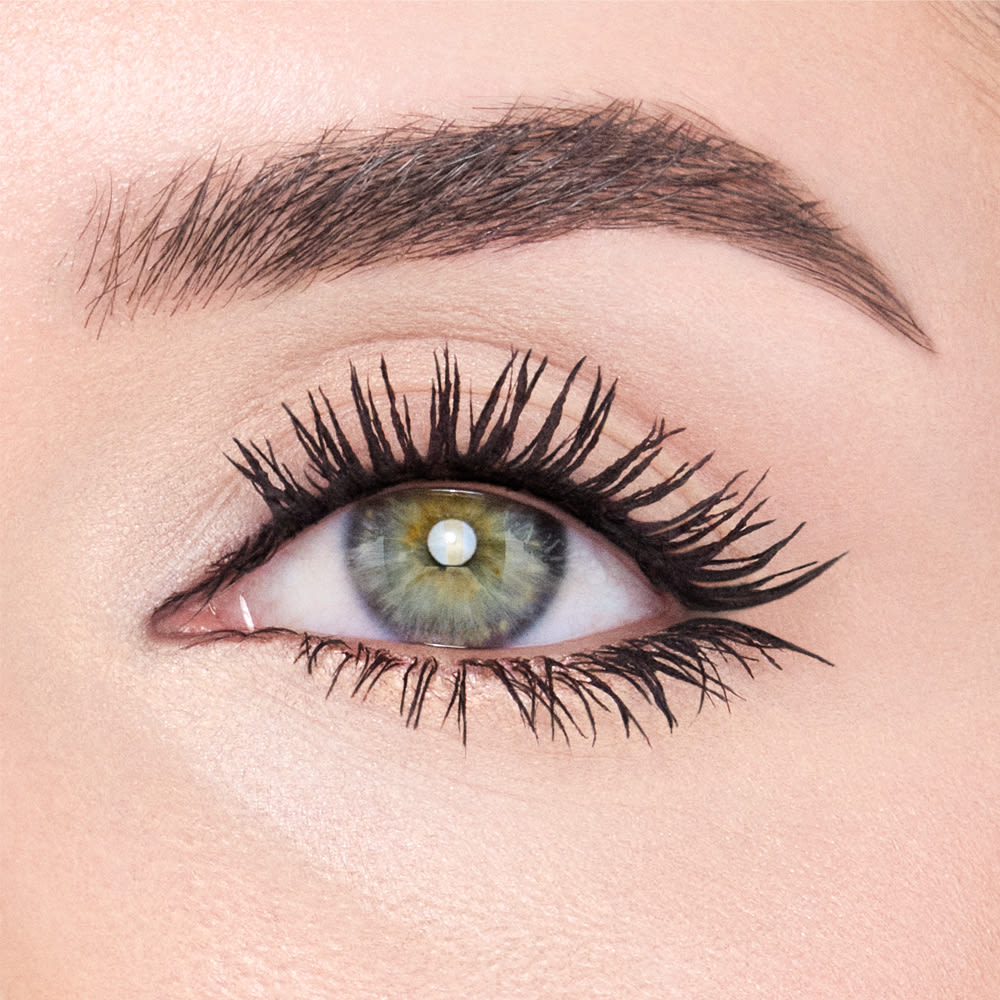
1. Apply multiple coats of mascara
The more mascara you apply, the more volume you will build up. When you apply lashings and lashings of your favourite mascara, your lashes appear thicker, exaggerated, and full of volume! Each of my mascaras are formulated to be effortlessly buildable, darlings. Once you’ve applied your first coat, you can wiggle on a second and third to dial up the volume!
Tilbury Tip: Looking for fast, exaggerated volume in one application? My Exagger-Eyes Volume Mascara makes lashes look 9x more voluminous instantly!
2. Focus mascara in the centre of your lashes
Volume starts at the centre of your lashes, darlings. If you apply several coats of mascara in the corners of your lashes, they could start to look spidery. Instead, apply more mascara to the centre of your lash line to build volume and unlock irresistible lash drama.
3. Make sure to coat the root of your lashes with mascara
Applying mascara right down to the root of your lashes will help your lash line to look thicker, fuller, and more voluminous. Having gaps in your mascara breaks the illusion of volume, and this is especially true for those with fair hair. When applying mascara, brush your wand as close to the root of your lashes as possible for maximum volume.
Tilbury Tip: To intensify your lash line even further, tightline with an eyeliner to make it appear thicker and fuller.
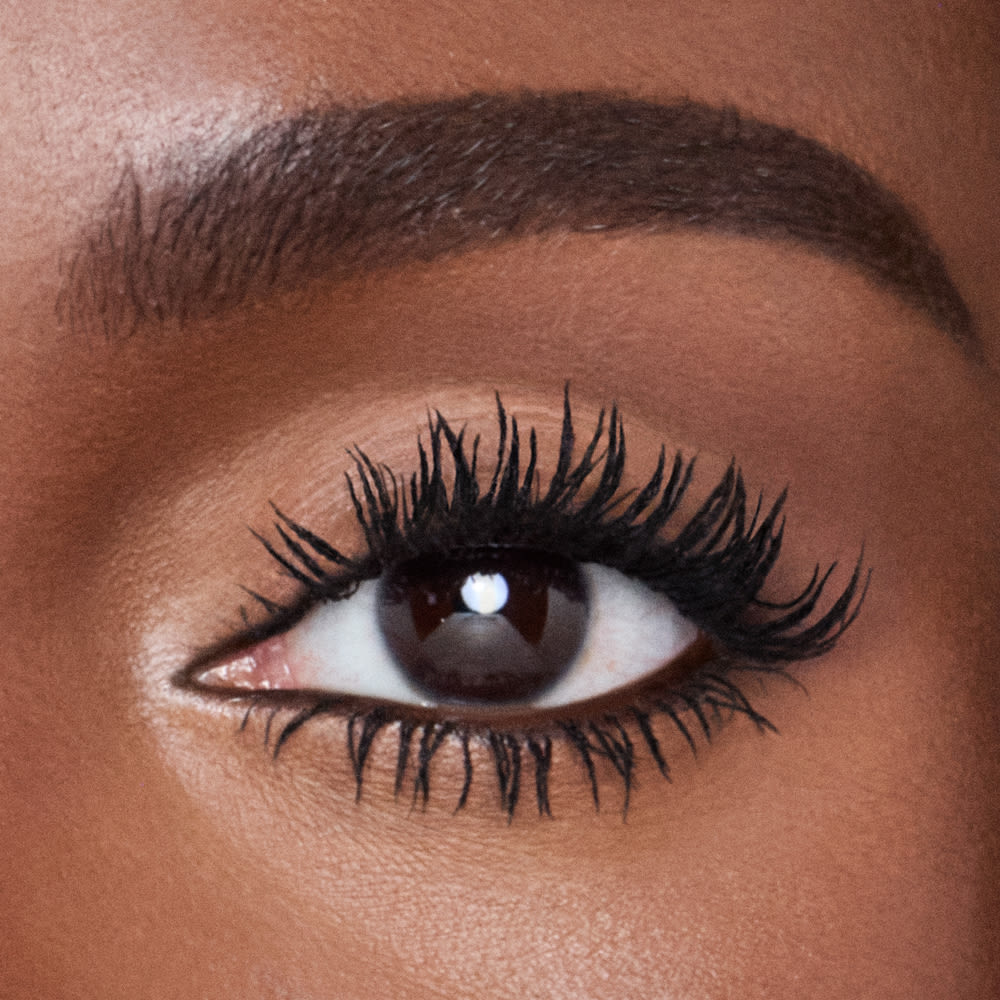
1. Prep lashes with an eyelash curler
To give your lashes captivating curl, reach for an eyelash curler before you apply mascara to curl them into shape. My Life-Changing Lashes eyelash curler is my secret to dreamy, defiant lashes with maximised curl! Use my rose-gold lash tool to train your lashes into an eye-enhancing curl, then apply mascara to dramatise your eyes!
Tilbury Tip: You can also use a curling mascara like Exagger-Eyes Volume Mascara – it has a 2X curl effect without even using a lash curler!
2. Curve your wand upwards
Once you have gripped your lashes with your mascara wand and are nestling your brush from root to tip, try delicately rolling your wrist in an upward curve to guide your lashes into a more pronounced curl. The key to your curl is for lashes to face upwards rather than straight outwards, so use your brush to coax them into your desired shape.
3. Remove clumps
Clumps of mascara can make your lashes heavy and can make them release their curl. To get rid of any clumps, I recommend using a clean cotton bud or spoolie to brush through your lashes and remove any excess mascara.
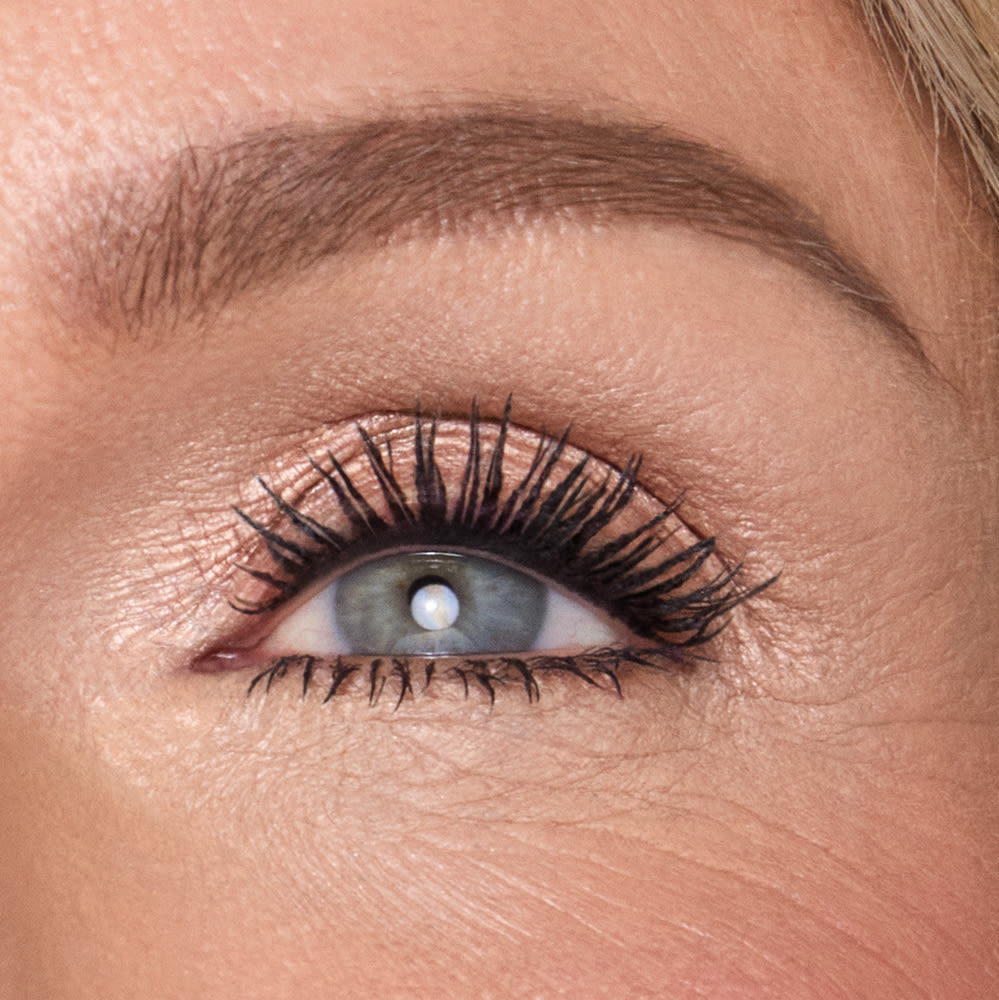
1. Groom your lashes with a spoolie
If you love the look of supersized, separated lashes, try brushing through your lashes with a clean spoolie or lash comb before applying your mascara. The bristles on your spoolie will help to spread out your lashes to reveal their most fanned-out shape, so when you apply mascara your lashes will look separated without crossing over or bunching up.
2. Style lashes with the tip of your mascara
You can use the tip of your mascara wand as a lash styling tool, darlings! The tip is the finest part of a mascara wand and it’s perfect for getting a more precise mascara application. Use your wand to gently nestle between your lashes and comb them apart to make them look separated and defined.
3. Use a mascara formula that isn’t too wet
When you use a mascara formula that’s very wet, it can cause lashes to stick together which loses some of the separating effect. Have you ever found that a mascara looks its best a few weeks after you have opened it? This might be why! Each of my mascaras can get you the separated lashes that you’re looking for – try swapping your mascara for one of my lash icons!
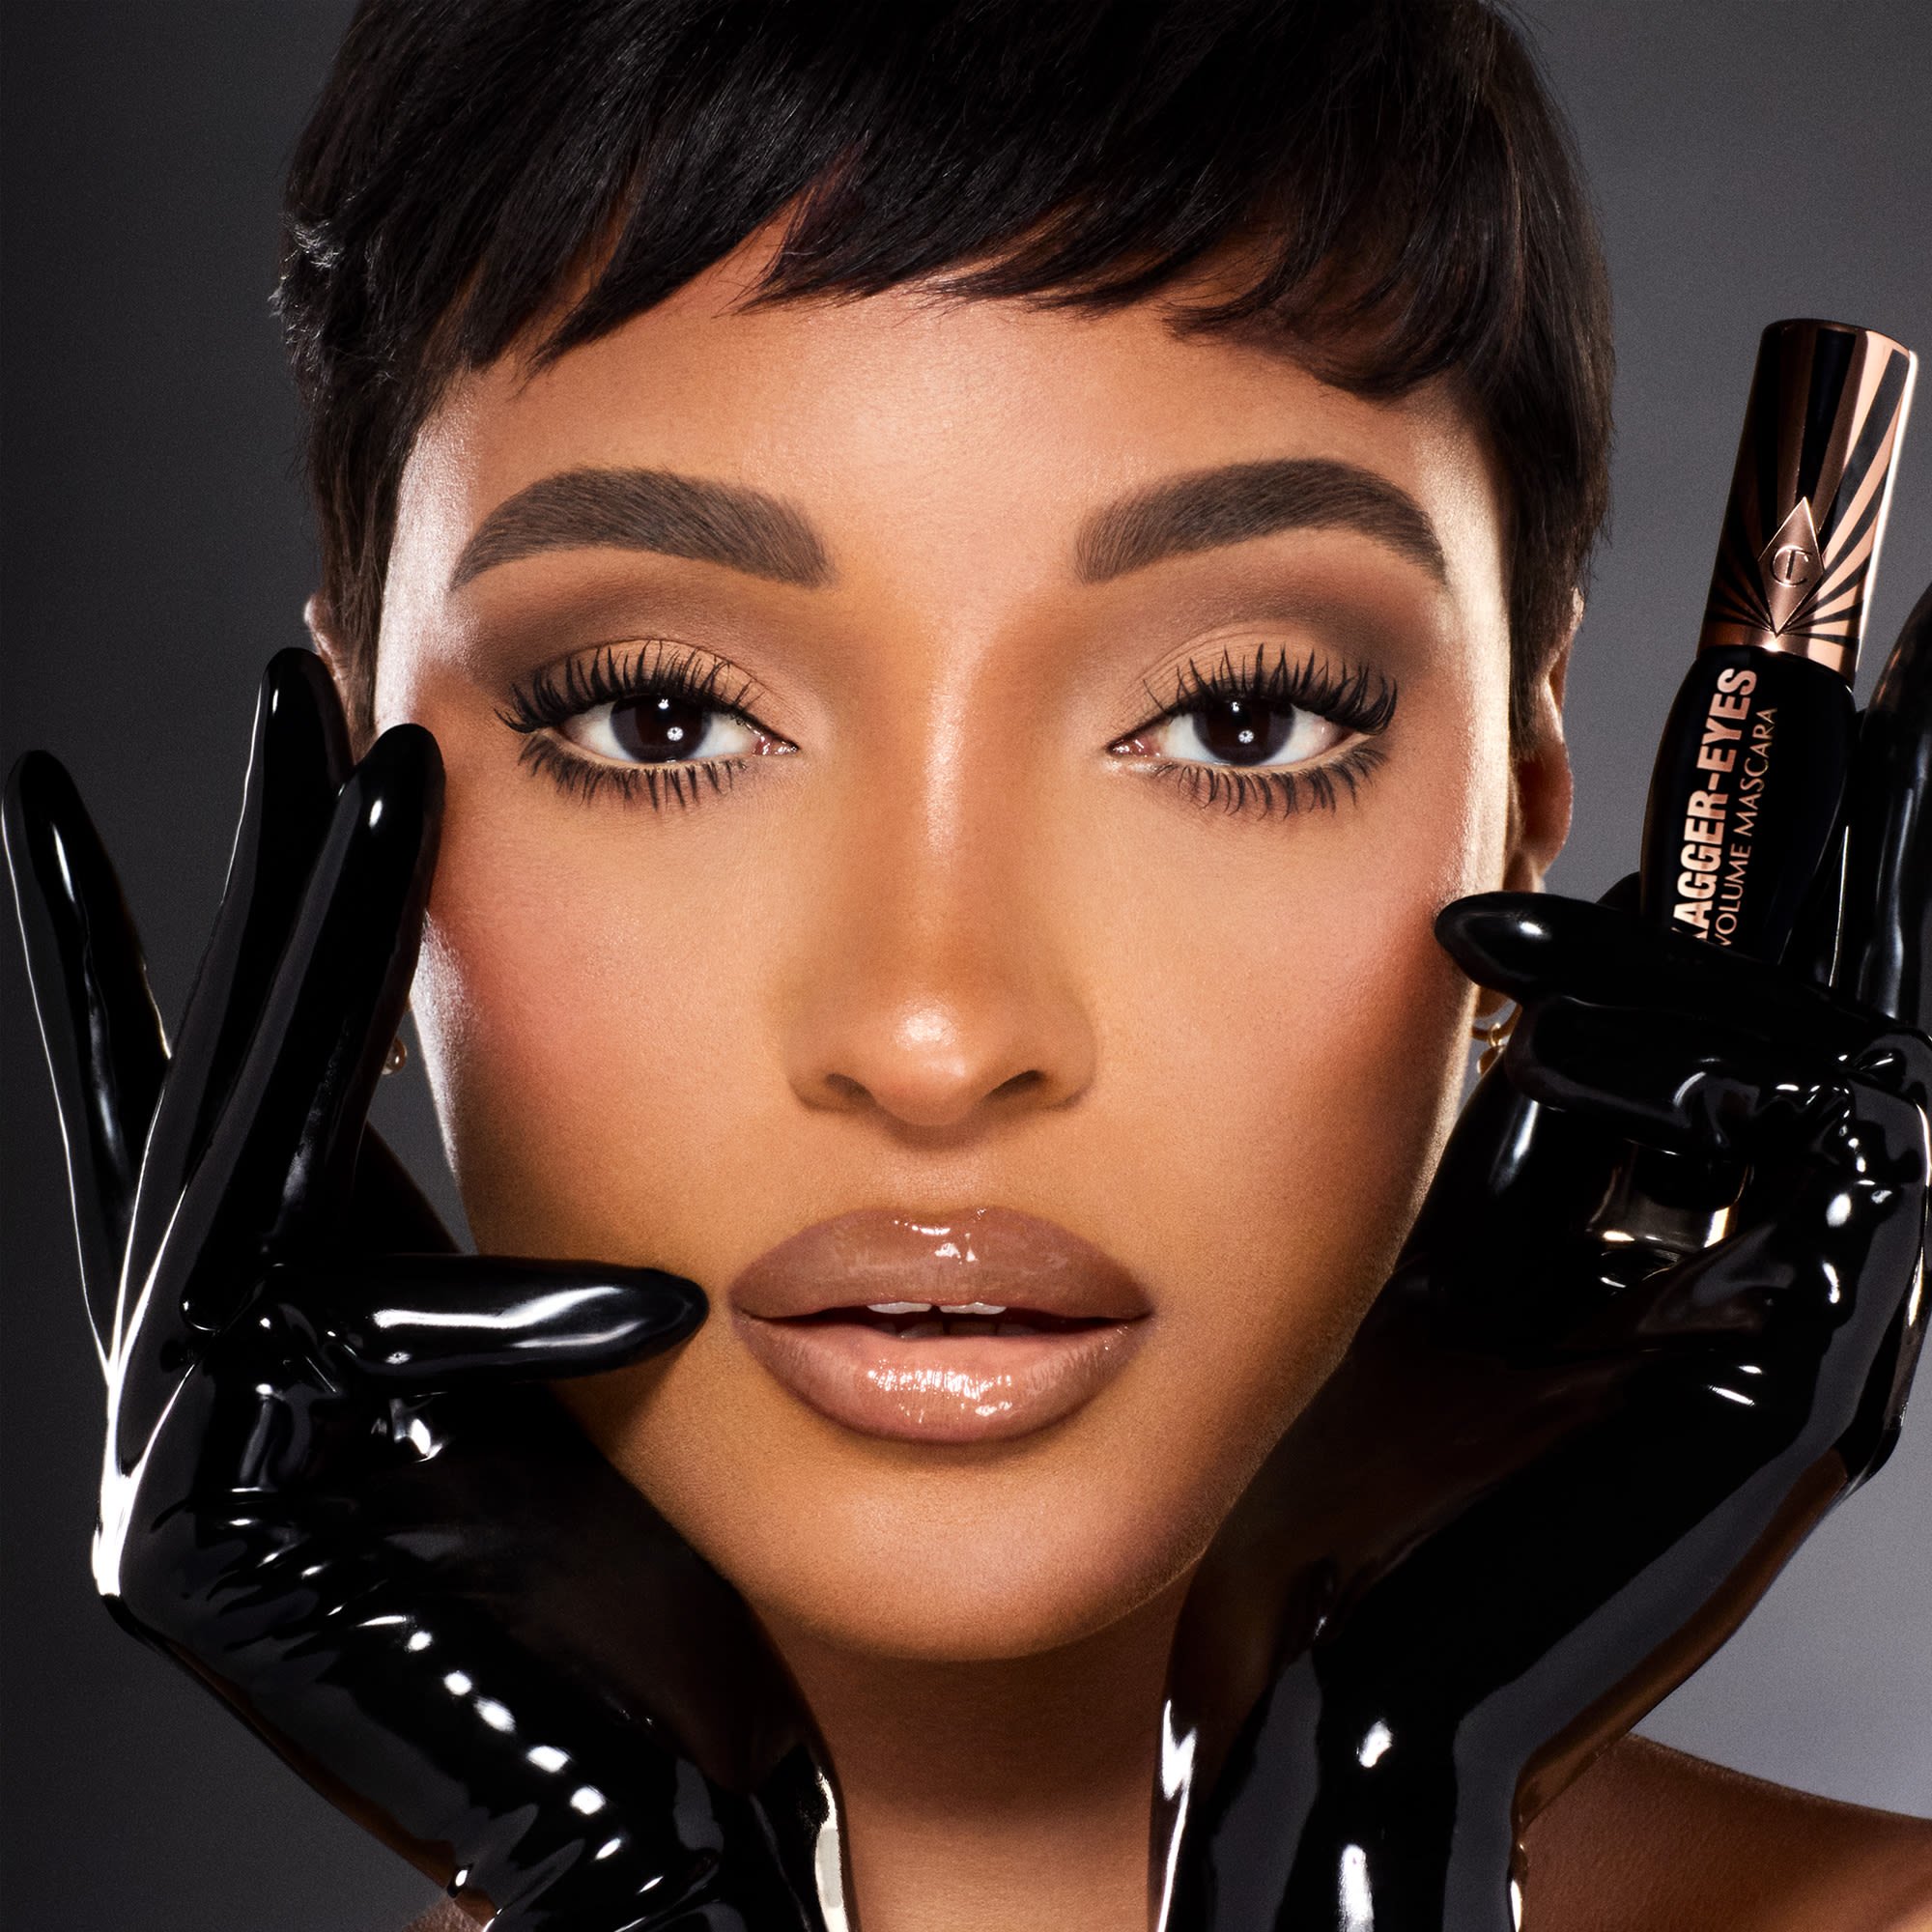
1. Powder your under-eye area
Mascara on your bottom lashes can be tricky as they are much shorter and more finicky than the lashes on top. I always recommend powdering underneath your eyes with a setting powder like AIRbrush Flawless Finish to avoid any mascara mishaps! Foundation and concealer under your eyes can get ruined by rogue mascara, but adding a layer of powder forms a barrier between the two. If your mascara goes awry, powder will allow you to easily brush it off and touch up as if nothing happened.
2. Use the tip of your mascara wand
The tip of your mascara wand is best suited to applying mascara to fiddly lashes like bottom lashes and corner lashes. Holding your mascara horizontally while applying mascara to the bottom lashes risks smudging mascara along the lower lash line and applying too much product which can cause bottom lashes to look chunky. Instead, use the tip of your wand to precisely deposit mascara onto the bottom lashes to make them appear separated and defined.
3. Focus on the outer corners
Applying mascara on the inner corners can make eyes appear smaller and closed off. Focus your mascara on the outer corners of your lower lash line as this will create a more lifted, cat-eye effect. This mascara placement will also help to connect your top and bottom lash looks and frame the look of your eye shape.
Discover my best mascaras for length, curl, volume, and more
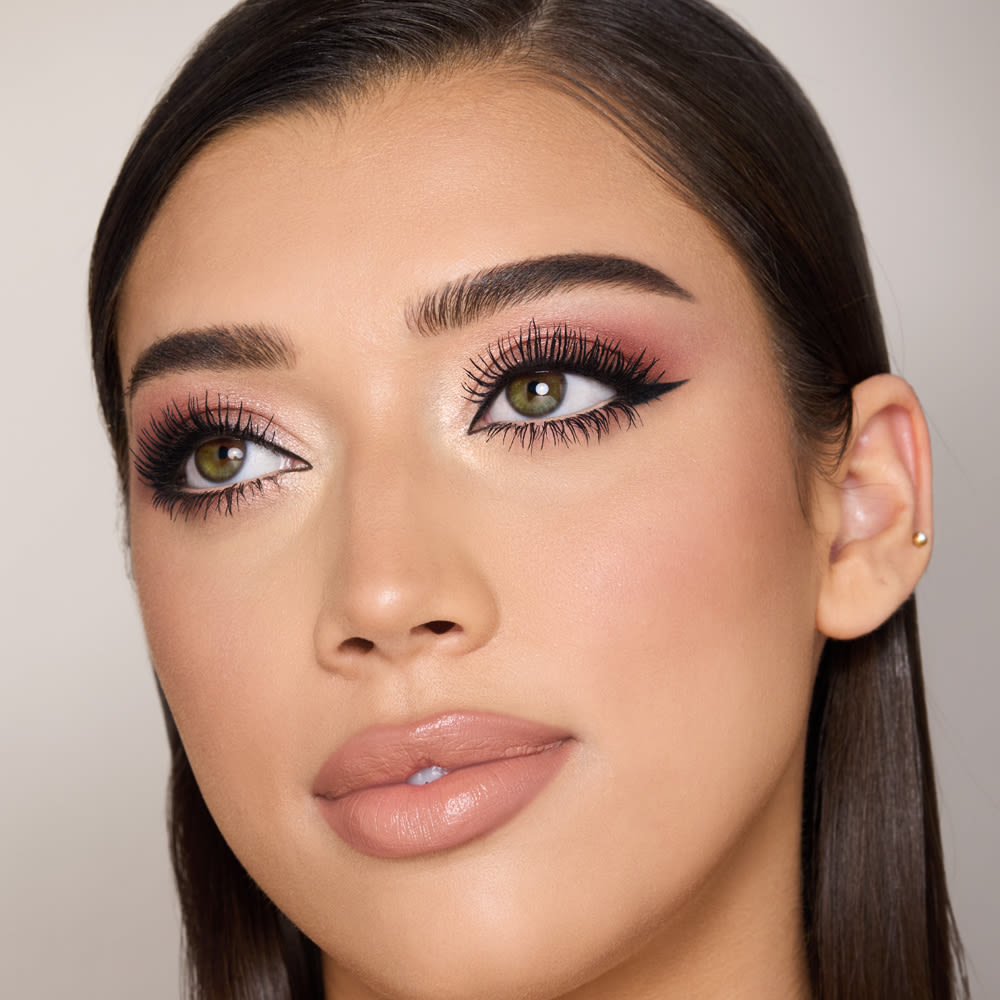
1. Comb through lashes with a cotton bud or spoolie
Mascara clumps are the result of mascara sticking together and bunching up. A good way to avoid mascara clumping is to comb through your lashes with a clean cotton bud or spoolie; this will help to remove any large mascara clumps from your lashes without compromising on volume.
2. Wait until mascara is dry
For larger mascara clumps, you may be able to remove them with your fingers. It’s best to wait until mascara is dry before you start to clean it up. Wet mascara is much more likely to smudge, whereas dry mascara sets into more defined chunks that are easier to remove.
3. Less is more
The more mascara you apply, the more you risk mascara clumping, so an argument can be made that less is more. Personally I love dark, dramatic lashes, which might not seem very less-is-more! The secret to getting this look without lashes becoming clumpy is to use a mascara like Exagger-Eyes Volume Mascara that delivers intense volume with one coat and doesn’t require building up, or using a buildable mascara like Full Fat Lashes! that you can apply several coats of without clumping.
1. Apply mascara to clean lashes
Always remove your mascara, darlings! If you are applying mascara on lashes that are coated with traces of yesterday’s mascara, your mascara application will be uneven and may result in smudging under the eyes. At the end of the day, use my Take It All Off makeup remover on a clean cotton pad and gently wipe away mascara. You can repeat this step in the morning before applying your makeup to ensure lashes are clean and ready for mascara.
2. Give your lashes time to dry
Mascara is most likely to smudge when it is still wet, so give it time to dry before going about your day. We all make some very expressive faces when applying makeup, but raising your eyebrows, lifting your cheeks, and brushing around your eyes could cause your lashes to move around and may result in mascara smudging, so it’s best to wait a minute or two after applying mascara to complete your makeup look.
Tilbury Tip: If you’re in a hurry, use a handheld fan to speed up the process and waft your lashes dry.
3. Do your eye makeup before foundation and concealer
If you continue to experience smudging around your eyes, try applying your eye makeup before your foundation and concealer. Bare skin is easier to clean up – just take some makeup remover on a cotton pad and remove any mascara smudges from around the eyes. Once your eye makeup is complete, you can get a clean foundation and concealer application with zero smudging.
Item 1 of 7
Item 2 of 7
Item 3 of 7
Item 4 of 7
Item 5 of 7
Item 6 of 7

₫1,046,000
Item 7 of 7

₫1,046,000
Darlings, mascara makes a makeup look and knowing how to apply mascara is the secret to eyes that mesmerise! After creating my signature Feline Flick winged eyeliner look, I always apply lashings and lashings of mascara to make eyes look bigger, brighter, and exaggerated.
Follow my mascara application tips and unlock length, lift, curl, volume, drama, dimension, and separation before your eyes! Show me your mascara face, darlings!
Discover how to make eyes look bigger and brighter
With over 30 years experience, Charlotte Tilbury MBE is the world's number 1 makeup artist and British beauty entrepreneur. Charlotte established Charlotte Tilbury Beauty in 2013, which is now a record-breaking beauty brand that has won over 400 awards.
Item 1 of 9

Experience an iconic lash transformation with my NEW! Exagger-Eyes Volume Mascara and unlock bigger, thicker, longer lashes with 28-hour exaggerated volume and curl.
Item 2 of 9

Whether you have long, curly, thin, short, or straight eyelashes, discover how to make your lashes look bigger and bolder with mascara.
Item 3 of 9

Discover the different types of mascara wands and learn the ways that they can transform the look of your eyelashes.
Item 4 of 9

Length? Volume? Separation? Whatever mascara look you are craving, discover the best mascara for your eyelashes in my lash-enhancing mascara lineup.
Item 5 of 9

Make your lash look last all day with my best long-lasting mascara, Exagger-Eyes Volume Mascara.
Item 6 of 9

Unlock beauty secrets, tips and tricks and learn how to apply mascara for the lashes of your dreams using Charlotte’s NEW! lash innovation, Pillow Talk Push Up Lashes! mascara!
Item 7 of 9

Looking to create high-impact lashes without using falsies? This helpful guide features a step-by-step tutorial on how to get the false lash effect with mascara.
Item 8 of 9

UNLOCK THE SECRET TO THE LASHES OF YOUR DREAMS! Charlotte’s NEW! Pillow Talk Push Up Lashes! Mascara creates instant VOLUME, LENGTH and a 24HR VERTICAL LIFT EFFECT!
Item 9 of 9

Darlings, celebrate the launch of Charlotte's first-ever coloured mascara, the NEW! Pillow Talk Push Up Lashes! in DREAM POP, a universally-flattering berry-brown shade that makes your eye colour POP!